Data validation is used to control what users can enter into a cell. It helps prevent mistakes and keeps data accurate and consistent.
Data validation techniques are explained in R050 3.2.3 Data Validation.
Setting Up Data Validation
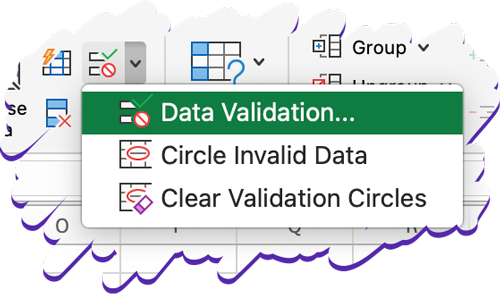
To set up data validation:
- Select the cell(s)
- Click Data tab
- Click Data Validation
- Choose a validation type
- Click OK
Common Types of Data Validation
List (Dropdown Menu)
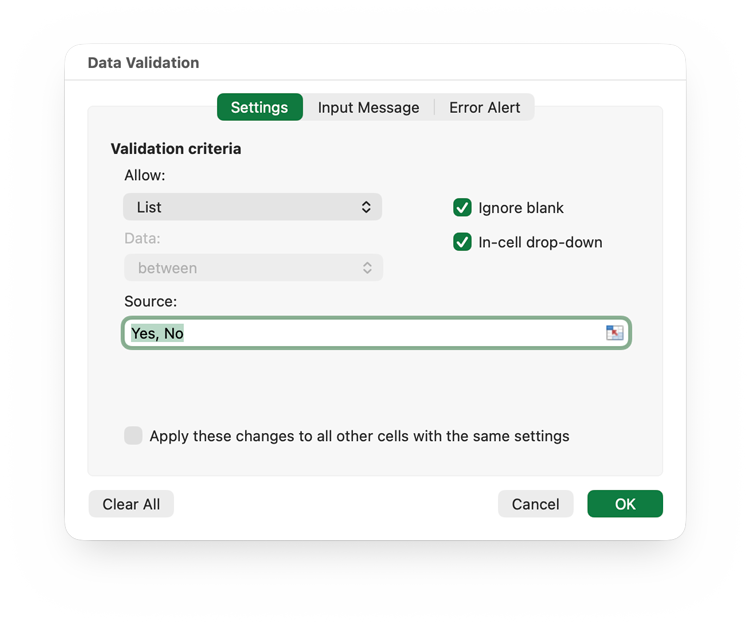
Used for: adding a drop-down menu to a cell, so the user can only select from a list of existing options.
Steps:
- From the Data Validation window, select List
- Enter a list of options, separated by commas (e.g. Yes,No) or select a range of cells containing the options
Range Check
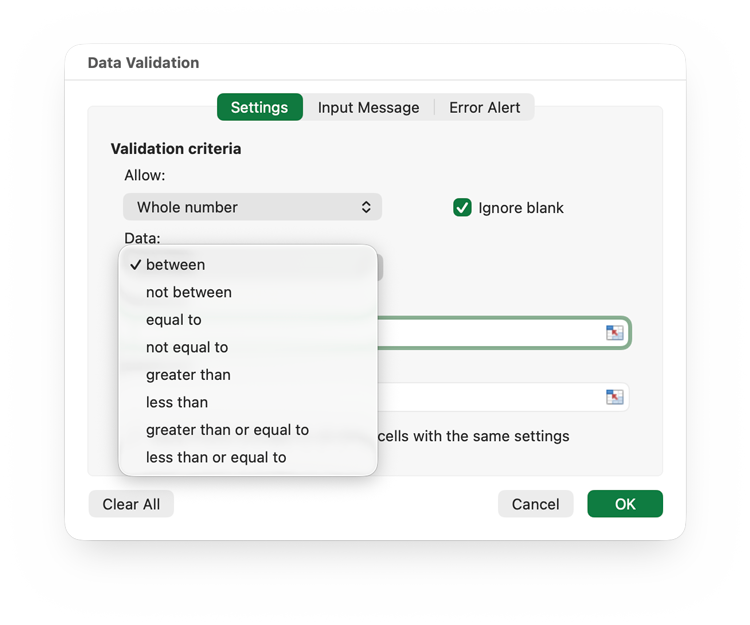
Used for: restricting data to a number within a specified range of values (e.g. between 0 and 100)
Steps:
- From the Data Validation window, select Whole Number or Decimal
- Choose what range type you need (e.g. between two values or greater than a value)
- Enter the minimum and/or maximum values, as needed.
Length Check
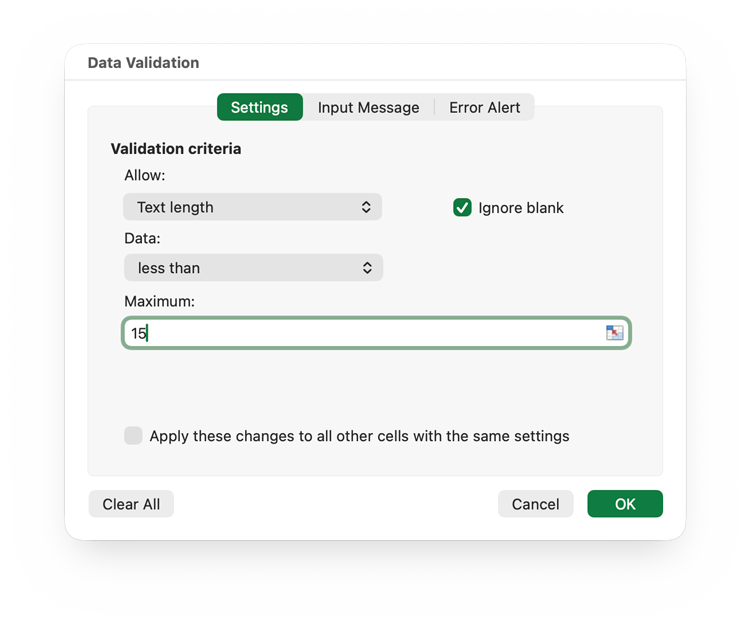
Used for: specifying a minimum or maximum length of input.
Steps:
- From the Data Validation window, select Text Length
- Choose what range type you need (e.g. between two values or greater than a value)
- Enter the minimum and/or maximum lengths, as needed.
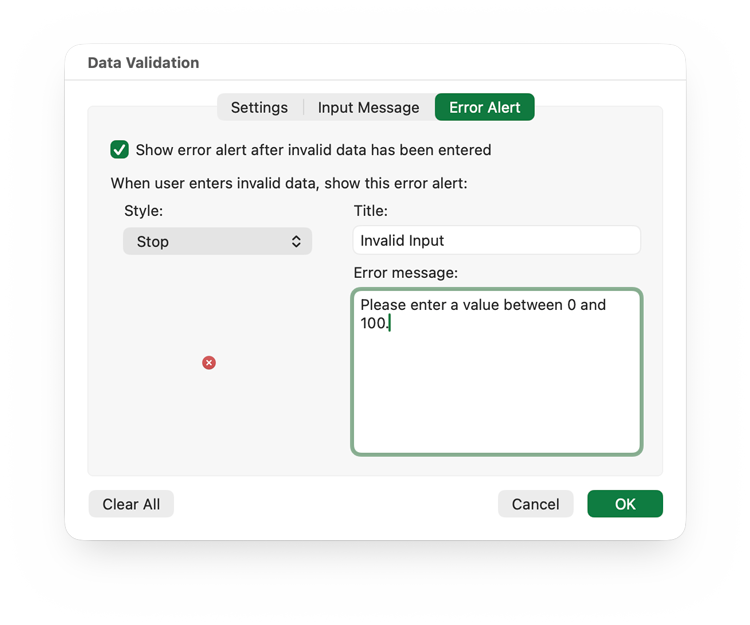
Error Messages
Error messages are a vital part of your Human Computer Interface (HCI). They should help the user to understand why their data is invalid without being difficult to understand.
Steps to create custom error messages:
- On the Data Validation window, click the Error Alert tab
- Enter a title for the error message
- Enter a short message which explains how the user can enter valid data or correct the error.